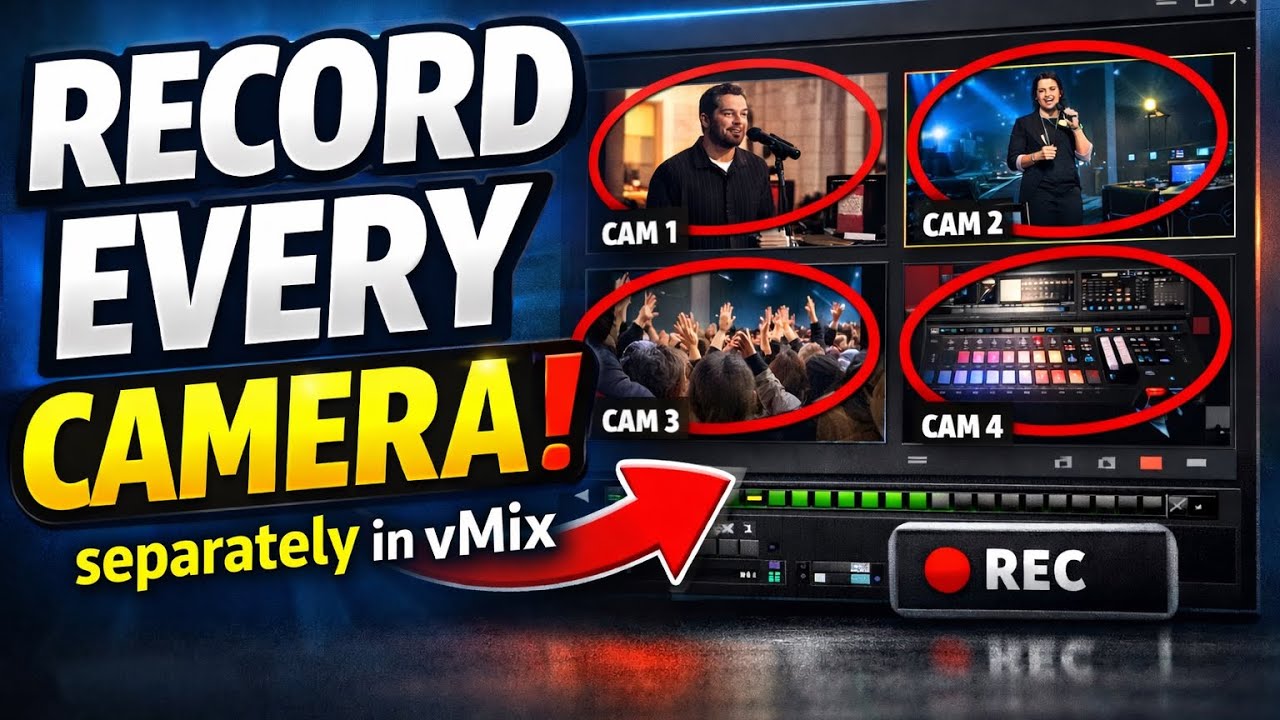
OBS Studio is a powerhouse — free, open-source, and capable of incredible things. But there comes a point in every DJ's streaming journey where OBS starts feeling like a constraint. You want instant replays during your set. You want to effortlessly switch between four camera angles without dropping frames. You want built-in virtual sets, automated camera tracking, and the ability to record every camera feed independently for post-editing.
That's where vMix comes in.
vMix is a professional live production suite for Windows that sits a tier above OBS in nearly every dimension. It costs money — $60 for the basic HD version up to $1,200 for the full Pro 4K suite — but it replaces $10,000+ worth of hardware broadcast gear. For DJs who are serious about their video production, vMix is the upgrade path from "streamer" to "broadcaster."
This guide covers everything a DJ needs to know about vMix: setup, multi-camera workflows, instant replays, audio routing, overlays, and the specific features that make it worth the investment.
What vMix Does That OBS Can't
Before we dive into setup, let's be clear about when vMix is the right choice versus sticking with OBS. Both tools can produce a great DJ stream. The difference is in workflow speed and polish.
| Feature | OBS Studio | vMix |
|---|---|---|
| Instant Replay | ❌ Requires plugin (Replay Buffer is basic) | ✅ Built-in, with slow-mo and trim |
| Multi-Camera Recording | ❌ Records single output only | ✅ MultiCoder records every camera separately |
| Virtual Sets / Chroma Key | ⚠️ Basic (plugin-dependent) | ✅ Pro-grade built-in virtual sets |
| Built-in Titler / Lower Thirds | ⚠️ Requires third-party tools | ✅ Full GT Designer — animated titles and tickers |
| NDI Native Support | ⚠️ Via plugin | ✅ Fully native, built-in |
| Audio Bus Routing | ⚠️ Limited (Advanced Audio Properties) | ✅ Full bus matrix — independent submixes |
| Multi-Destination Streaming | ⚠️ Via FFmpeg or plugin | ✅ Native — stream to multiple platforms simultaneously |
| External Control API | ⚠️ obs-websocket plugin | ✅ Built-in TCP/HTTP API, MIDI, Stream Deck |
| Price | Free | $60–$1,200 |
The key insight: OBS is a streaming tool. vMix is a production studio that also streams. If your DJ stream is a single-camera affair with basic overlays, OBS is the smarter choice. If you're running multiple cameras, want instant replays, and need to produce a show that rivals professional broadcast quality — vMix is the investment.
Which vMix Version for DJs?
vMix comes in four editions. For most DJs, the choice is simple:
| Edition | Price | Max Resolution | Inputs | Best For |
|---|---|---|---|---|
| Basic HD | $60 | 1920×1080 | 4 | Single-camera + screenshare DJs starting out |
| HD | $350 | 1920×1080 | Unlimited | Multi-camera DJs with deck cam + crowd cam + DJ software |
| 4K | $700 | 3840×2160 | Unlimited | DJs streaming or recording in 4K |
| Pro 4K | $1,200 | 4096×2160 | Unlimited | Full production: 4K, MultiCoder, external output, full API |
Sweet spot for most DJs: vMix HD ($350). It gives you unlimited inputs (cameras, NDI sources, browser captures, media files) at 1080p. That's enough for four cameras, your DJ software capture, a now-playing browser source, and overlays. The only feature you miss from 4K is MultiCoder (independent camera recording), but if you're not doing post-production editing, you don't need it.
Setting Up Your DJ Broadcast in vMix
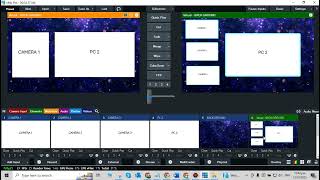
Step 1: Input Configuration
vMix calls every source an "Input." Add them via the Input menu → Add Input → choose your source type. For a standard DJ stream, you'll need:
- Video — Camera 1: Your main camera (face cam) — USB webcam, HDMI capture card, or NDI camera. Position it for a straight-on shot of your upper body and decks.
- Video — Camera 2 (optional): Deck close-up — a secondary camera or phone NDI feed focused on your mixer/controller. Viewers want to see hands on the gear.
- Video — Display Capture: Your DJ software window (Rekordbox, Traktor, Serato, Mixxx). In vMix, use Window Capture or Display Capture to grab just the DJ software window.
- Video — Browser Source: For now-playing metadata, animated backgrounds, or visualizers. vMix has a native Browser input type.
- Audio — Audio Input: Your DJ mixer master output (via USB interface or line-in).
- Audio — Microphone: Your mic input for voiceovers.
Step 2: Scene Building
In vMix, scenes aren't separate entities like OBS — they're combinations of inputs visible on the Program output at any time. You build them dynamically using the Overlays, Stingers, and the Input tree.
The most practical approach for DJs is to create multiple "Scenes" using the List feature:
- Main Broadcast: DJ software fullscreen with camera PIP in the corner. Add your lower third overlay and now-playing text.
- Fullscreen Camera: Just your face cam — use this when talking to the audience between tracks.
- Deck Cam: The close-up camera fullscreen — switch here during transition-heavy moments or when you want viewers to see a specific technique.
- Intermission: A looping video background with your logo and "Back Soon" text. No audio needed — viewers get a breather.
- Multi-Camera Quad Split: Show all camera angles simultaneously — great for finale moments or when you want to show the full production.
To create a List: right-click in the Staging area → Add List. Then drag your Inputs into the List in the order you want. Each List item remembers the input's position, scale, and overlay state.
The Feature DJs Will Love Most: Instant Replay
This is the killer feature that makes vMix worth the price for DJs. During your set, you can hit a hotkey to mark a moment — a smooth transition, a crowd reaction, a particularly filthy drop — and replay it on demand with slow-motion, all without interrupting your live stream.
Here's how it works:
- Enable Replay: Settings → Replay → check "Enable Replay." Set buffer duration to 30-60 seconds. More buffer uses more RAM but gives you flexibility.
- Mark moments: During your stream, press the assigned hotkey (default: F9). This doesn't interrupt anything — it just bookmarks the last N seconds in the replay buffer.
- Play back: When you want to show a replay, press the Play Replay hotkey (default: F10). The replay takes over the Program output, plays the clip, then returns to your live feed.
- Slow-mo option: In the Replay settings, you can enable slow-motion playback at 30%, 50%, or 75% speed. Use 50% for dramatic drops — it gives viewers time to appreciate the moment.
Tell your audience about the replay after the first use. "Hold on, let me show you that again in slow motion" — then hit F10. The reaction is always positive. Viewers feel like they're watching a live sports broadcast, not a bedroom stream.
MultiCoder: Record Every Camera Separately
Available in vMix 4K and Pro, MultiCoder lets you record each camera feed independently while simultaneously streaming your Program output. Why does this matter for DJs?
Imagine you want to edit a highlight reel after your set. With a single recording, you're stuck with whatever composition you streamed. With MultiCoder, you get:
- Camera 1 (face cam): Separately recorded
- Camera 2 (deck cam): Separately recorded
- DJ Software capture: Separately recorded
- Program output (what the audience saw): Also recorded as a reference
In post-production, you can cut between angles independently, zoom into specific moments, or produce a completely different composition than what you streamed live. If you're producing YouTube highlights, Instagram Reels, or TikTok clips from your sets, this is gold.
To set up MultiCoder: right-click any Input → MultiCoder → Add to MultiCoder. Configure each with the desired quality (CBR at 15-25 Mbps for 1080p, H.264 or H.265). Point them to an SSD — high-bitrate multi-track recording needs fast write speeds.
Audio Routing in vMix: The Bus Matrix
Where OBS has per-source audio mixing, vMix gives you a full broadcast-style audio bus matrix. Each input can be routed to multiple output busses independently.
Setting Up Your Audio Busses
For a DJ stream, configure these busses:
- Master Bus: Everything the stream hears. Your DJ mixer output + microphone + any samples or intro music. Master volume should hover around -6dB.
- Headphone Bus (Aux 1): What you hear in your monitoring headphones. Usually Master + a click track or cue mix if you need pre-listening.
- Recording Bus (Aux 2): A high-quality dry recording without voiceover. Just the DJ mixer output, for clean archiving of your set.
To route an input to a specific bus: click the input → Audio → Bus Routing. Check Master for stream audio, Aux 1 for headphones, Aux 2 for clean recording. Each bus can have independent volume levels per input.
Audio Filters and Processing
vMix includes built-in VST hosting, meaning you can use professional audio plugins directly. The essential filter chain for your microphone input:
- Noise Gate: -36dB threshold, 50ms attack, 100ms release. Cleanest way to kill background rumble when you're not speaking.
- Dynamics (Compressor): 3:1 ratio, -20dB threshold, 20ms attack, 100ms release. Apply 3-4dB of gain reduction on peaks.
- 10-Band EQ: High-pass at 80Hz, moderate cut at 400Hz (boxiness), gentle boost at 3kHz (presence).
For your DJ mixer input, less is more. A soft limiter at -1.5dB is all you need — let the music dynamics speak for themselves.
"The bus matrix is what makes vMix feel like a real broadcast console. You're not just mixing audio — you're routing it to different destinations with independent levels. Your stream gets one mix, your headphones get another, your recording gets a third. That's the difference between amateur and professional."
Overlays, Lower Thirds & the GT Designer
vMix includes a built-in title and graphics tool called GT Designer. It's not as intuitive as After Effects, but it's more than capable for DJ stream graphics.
Creating a Lower Third
- Open vMix → Title / GT Designer → New Title
- Set the canvas to 1920×1080 (or your output resolution)
- Draw a rectangle at the bottom third of the screen — dark background at 60% opacity
- Add text fields: your DJ name (left-aligned, bold) and social handle (right-aligned, smaller)
- Add an animation preset: "Slide In From Bottom" at 200ms, "Slide Out To Bottom" at 200ms
- Save and close. The title now appears in your Inputs as "GT — [Title Name]"
Use the GT Title input as an Overlay — this keeps it floating above your main content. To show/hide overlays, assign hotkeys (e.g., Ctrl+1 for lower third, Ctrl+2 for now-playing, Ctrl+3 for social bar).

Streaming From vMix to Your Audience
vMix supports streaming to multiple destinations simultaneously without plugins. Here's the recommended setup for DJs:
- Primary destination (Grooveline / custom RTMP): Set your streaming slot's RTMP URL in Settings → Streaming → Add. vMix supports RTMP, RTMPS, and SRT.
- Secondary destination (YouTube or Twitch): Add a second stream target in the same settings panel. vMix's multi-destination streaming handles both simultaneously.
- Local recording: Enable Recording in Settings → Recording. Set quality to "High Quality" (50-100 Mbps for 1080p). Save to an external SSD.
Recommended encoder settings for vMix:
| Setting | 1080p60 Stream | 720p60 Stream | Local Recording |
|---|---|---|---|
| Encoder | NVIDIA NVENC H.265 | NVIDIA NVENC H.264 | Intel QSV or x264 Very Fast |
| Bitrate | 8000 Kbps CBR | 5000 Kbps CBR | 50000 Kbps VBR |
| Keyframe Interval | 2 seconds | 2 seconds | 2 seconds |
| Audio Bitrate | 192 Kbps AAC | 160 Kbps AAC | 320 Kbps AAC |
| Audio Sample Rate | 48 kHz | 48 kHz | 48 kHz |
vMix vs OBS: Making the Choice
If you've read this far, you're clearly serious about your DJ broadcast. Here's a practical decision framework:
Stick with OBS if: You're running a single-camera setup, don't need instant replays, and your budget for streaming software is $0. OBS is genuinely excellent and will serve you well for years.
Upgrade to vMix if: You're running 2+ cameras, want instant replay capability, record your sets for post-production, or feel limited by OBS's audio routing. The $350 for vMix HD pays for itself in production quality within a few streams.
Hybrid approach: Some DJs use vMix as their production hub (multi-cam, replays, overlays) and route the vMix Program output into OBS for encoding and streaming. This gives you vMix's production features with OBS's mature streaming engine. Set up vMix to output via NDI, then add an NDI Source in OBS.
Whichever path you choose, the goal is the same: produce a broadcast that looks and sounds professional. Your audience might not know you're using vMix versus OBS — but they'll feel the difference in production quality.
And when you're ready to go live, Grooveline gives you a free streaming slot to broadcast to. Create your profile, book your time, and let the community hear what you've been working on.
Sources & Further Reading
- vMix Official Website — feature comparison, product editions, and purchasing options for all vMix versions
- vMix User Guide — official documentation covering inputs, audio routing, streaming, MultiCoder, and GT Designer
- OBS Studio Official Wiki — reference for OBS-based comparisons and understanding the streaming fundamentals that apply to both tools
- Blackmagic ATEM Mini — hardware video switcher that complements vMix for hardware-accelerated multi-camera setups
- FFmpeg Documentation — the encoding and streaming foundation underlying both vMix and OBS. Essential for understanding codec choices and bitrate management
Ready to level up your broadcast? Grooveline is a free platform for DJs to stream — create your profile, book a slot, and go live with your vMix setup.