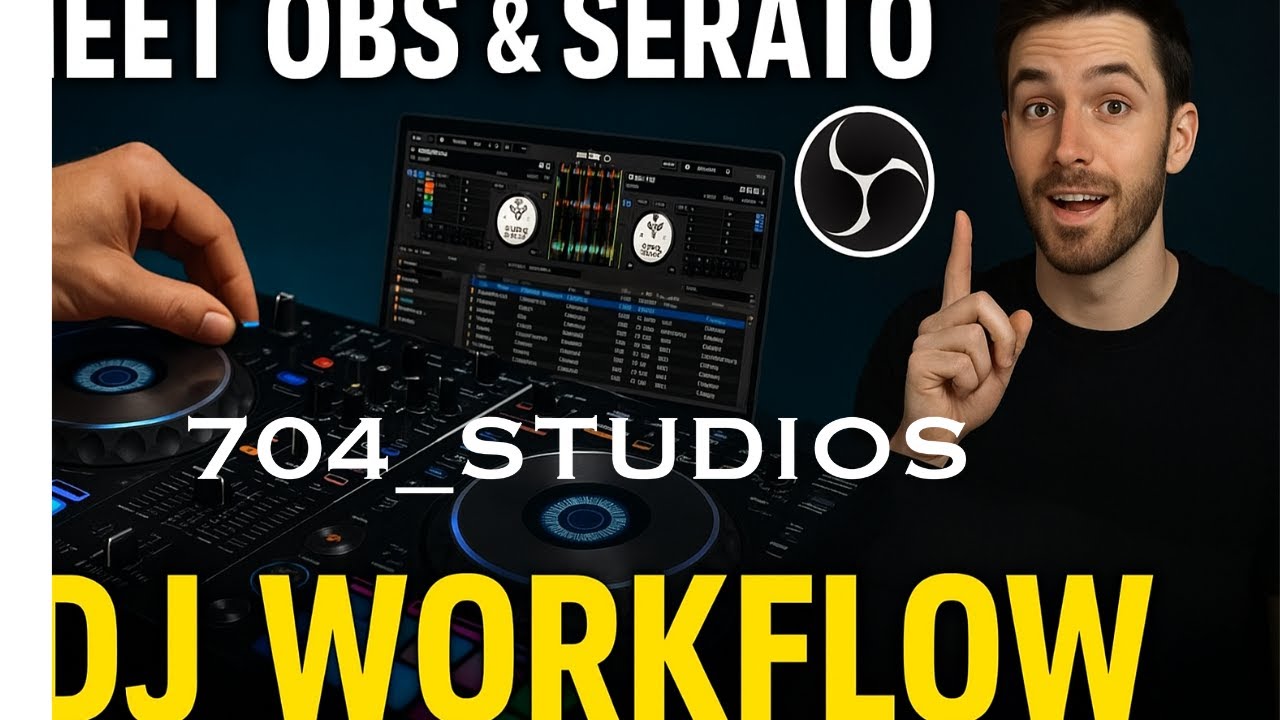
If you're a DJ broadcasting live in 2026, OBS Studio is the single most important tool in your software stack. It's free, it's open-source, and it's the bridge between your DJ setup and your audience — whether you're streaming to Twitch, YouTube, your own Grooveline slot, or a custom MediaMTX server.
But here's the thing: OBS is also incredibly deep. Most DJs use maybe 10% of what it can do. They set up a single scene with their webcam and DJ software window, hit "Start Streaming," and call it done. That works, but it's like playing on a plastic controller instead of CDJs — you're leaving everything on the table.
This guide covers everything you need to build a professional OBS setup specifically for DJ broadcasting: scene composition, audio routing, streaming presets, overlays, and the settings that separate "looks okay" from "looks broadcast-ready."
Why OBS Is the Default for DJ Streaming
OBS Studio isn't just a screen recorder — it's a live production switcher, audio mixer, encoder, and streaming client rolled into one. For DJs, that means:
- Scene-based switching — Create different camera angles, fullscreen visuals, and picture-in-picture layouts, then switch between them instantly
- Per-source audio control — Route your DJ mixer, microphone, and computer audio independently with individual filters, compression, and monitoring
- Hardware-accelerated encoding — Use your GPU (NVENC on NVIDIA, AMF on AMD) to stream without bogging down your CPU
- Plugin ecosystem — From stream decks to audio ducks, OBS has plugins for almost everything a DJ might need
- Zero cost — OBS is completely free, no subscriptions, no watermarks, no limitations
There are paid alternatives — vMix, Wirecast, Streamlabs — but OBS gives you 95% of the professional features at 0% of the cost. For DJs building their streaming setup, it's the right starting point and the right endgame.
Scene Composition: The DJ's Scene Structure
Your scenes are the building blocks of your broadcast. Think of them like the tracks in your crate — each one serves a specific purpose, and you switch between them at the right moments.
Scene 1: Main Broadcast
Your primary scene — the one viewers see 90% of the time. The layout depends on your setup, but the standard DJ broadcast composition is:
- Background layer: Your DJ software window (Rekordbox, Traktor, Serato, Mixxx) or a visualizer
- Camera layer (picture-in-picture): Your webcam or camera feed, positioned in the bottom-right or bottom-left corner. Size it to about 20-25% of the screen width — big enough to see your face, small enough that the music content stays primary
- Webcam border: A 1-2px teal or white border on the camera frame makes it pop against dark content
- Lower third overlay: Your DJ name, current track info, and social handle
- Now playing text: Artist — Track title, updated as you mix
Scene 2: Fullscreen Visuals / Intermission
For breaks between sets, intro/outro sequences, or when you want to switch to visuals-only mode. This scene should have:
- A looping video file, GIF, or slideshow of event photos
- Your logo prominently displayed
- "Back soon" or "Next set at [time]" text overlay
- No camera — this is the visual breather
Scene 3: Deck Close-Up (Optional but Powerful)
A secondary camera focused on your decks/mixer, shown full-screen or as a secondary PIP when you want viewers to see your technique. This is the "money shot" for electronic music fans — they want to see the hands move.
Scene 4: Chat / Community
When you want to engage with viewers directly. Full camera + chat overlay. No DJ software visible — this is a conversation scene where you read comments, shout out viewers, and build community.
Use OBS's Studio Mode to preview your next scene before switching to it. Click "Studio Mode" in the OBS controls panel. This lets you set up transitions, check framing, and queue the next scene — exactly like a broadcast director's switcher. Viewers only see the Program output, not your Preview messing around.
Audio Routing: The Part Most DJs Get Wrong
Audio is where OBS separates the pros from the hobbyists. You can have the best visual production in the world, but if your audio clips, echoes, or fades unpredictably, viewers leave.
The Three Audio Sources
Every DJ stream has exactly three audio inputs you need to manage:
| Source | How to Capture | OBS Settings |
|---|---|---|
| DJ Mixer Output (Master) | USB from mixer/controller, or audio interface line-in | Audio Input Capture device. Stereo. No filters except a -1dB hard limiter. |
| Microphone | USB mic, XLR+interface, or headset | Audio Input Capture device. Mono. Add compressor + noise gate + EQ filters. |
| Computer Audio | System audio loopback | Audio Output Capture (Windows) or BlackHole (Mac). Use for samples, backing tracks, or browser-based visuals. |
Essential Audio Filters for DJs
Right-click any audio source in OBS → Filters. Add these in order:
Mic Channel:
- Noise Gate — Threshold: -40dB, Attack: 25ms, Hold: 200ms, Release: 150ms. This kills room noise, breathing, and rumble when you're not speaking.
- Compressor — Ratio: 3:1, Threshold: -18dB, Attack: 10ms, Release: 100ms, Output Gain: +3dB. Smooths out volume variations so your voice stays consistent.
- EQ (VST or RNNoise) — High-pass filter at 80Hz (kills bass rumble from the monitors). Gentle cut around 400Hz (reduces boxiness). Boost at 3kHz for clarity.
- Limiter — Ceiling: -3dB. Prevents your mic from ever clipping, even if you shout.
DJ Mixer Channel:
- Limiter — Ceiling: -1dB (or -0.5dB). This is the only filter your music needs. If you've set your levels properly on the mixer, you shouldn't need compression on the master bus — let the music dynamics breathe.
Advanced Audio: Ducking for Voiceovers
If you want your music to automatically dip when you speak (like a radio DJ), use OBS's Sidechain Ducking technique:
- Add a Compressor filter to your DJ Mixer audio source
- Set Sidechain Source to your Microphone
- Ratio: 4:1, Threshold: -24dB, Attack: 10ms, Release: 500ms
- Now every time you speak, the music ducks by about 4-6dB. When you stop, it fades back smoothly.
"Sidechain ducking is the single most professional-sounding thing you can do to your DJ stream. Listeners might not notice it consciously, but they'll notice the difference between a stream where the DJ has to shout over the drop and one where the mix intelligently makes space for the voice."
Streaming Presets: Settings That Actually Matter
Here are specific OBS encoder presets for different DJ streaming scenarios. These are tested, stable configurations — not guesswork.
Preset 1: High-Quality DJ Stream (1080p60)
Best for: Dedicated streaming computer, modern GPU (NVIDIA GTX 1660+ or AMD RX 5000+), wired internet.
| Setting | Value |
|---|---|
| Output Resolution | 1920×1080 |
| FPS | 60 |
| Encoder | NVIDIA NVENC H.265 (HEVC) or AMD AMF |
| Rate Control | CBR (Constant Bitrate) |
| Bitrate | 8000 Kbps (requires ~8Mbps upload minimum) |
| Preset | P5: Slow (Good Quality) — or P6: Slowest for max quality |
| Keyframe Interval | 2 seconds |
| Audio Bitrate | 192 Kbps |
| Audio Sample Rate | 48 kHz |
Preset 2: Balanced Stream (720p60)
Best for: Single-computer setup, older GPU, streaming while also running DJ software with visuals.
| Setting | Value |
|---|---|
| Output Resolution | 1280×720 |
| FPS | 60 |
| Encoder | NVIDIA NVENC H.264 |
| Rate Control | CBR |
| Bitrate | 5000 Kbps |
| Preset | P5: Slow |
| Keyframe Interval | 2 seconds |
| Audio Bitrate | 160 Kbps |
| Audio Sample Rate | 48 kHz |
Preset 3: Mobile / Limited Bandwidth (720p30)
Best for: Tethering, hotel Wi-Fi, or cellular streaming. Still looks good with proper scene composition.
| Setting | Value |
|---|---|
| Output Resolution | 1280×720 |
| FPS | 30 |
| Encoder | NVIDIA NVENC H.264 |
| Rate Control | CBR |
| Bitrate | 2500 Kbps |
| Preset | P6: Slowest |
| Keyframe Interval | 2 seconds |
| Audio Bitrate | 128 Kbps |
| Audio Sample Rate | 44.1 kHz |
Overlays and Graphics: Looking Broadcast-Ready
The difference between "streamer" and "broadcaster" is in the overlays. Here's what to include and how to make it look clean:
Now Playing Integration
Showing your current track is non-negotiable. Viewers will Shazam your tracks, look them up, and follow your playlists. If you don't display this, you're leaving engagement on the table.
- Manual: Use a Text (GDI+) source and update it manually between tracks
- Auto: Use a Browser Source pointing to a local web server that reads track metadata from your DJ software. Mixxx, Rekordbox, and Traktor all output track info via OSC, MIDI, or file-based methods
- Simple: Use OBS plugins like auto-scroll text or obs-text-pthread for scrolling tickers
Lower Thirds
A transparent bar at the bottom of the screen with your name, tagline, or social handle. Keep it:
- Below 15% of screen height
- Semi-transparent background (black at 60% opacity is the safe choice)
- Clean sans-serif font (Rajdhani works perfectly)
- Positioned at the lower third line — not overlapping critical content
Don't Add These
- Follower/subscriber counters — they distract and add no value
- Animated donation alerts more than once per hour
- Twitch-style "recent follower" tickers — they're clutter, not content
- Your entire streaming dashboard overlaid on the stream
Putting It All Together: DJ Pre-Show Checklist
Here's the workflow I follow before every broadcast. Copy this, adjust for your gear, and never go live without running through it:
- Audio check (10 min before): Play a track at your typical volume. Watch the OBS audio mixer — master should hover around -12dB to -6dB, never touch 0dB. Speak into your mic — voice should sit around -10dB.
- Video check (5 min before): Cycle through all your scenes. Check camera focus, lighting, and framing. Make sure your now-playing text is working. Verify your lower third is positioned correctly.
- Recording check: Enable OBS's built-in recording (Settings → Output → Recording). Choose "Same as Stream" or a high-bitrate local recording for later uploads.
- Stream test (2 min before): Start a private stream to a test destination (or use OBS's Replay Buffer). Verify it reaches your platform with stable bitrate. No dropped frames = you're good.
- GO LIVE: Start with Scene 2 (visuals/countdown). Announce on social media. After 60 seconds, switch to Scene 1 (Main Broadcast) and start mixing.
Taking It Further: OBS Plugins Every DJ Should Know
OBS's plugin ecosystem turns it from a great tool into an unstoppable one. Here are the ones that matter for DJs:
- Move Transition — Animate sources between scenes. Smooth movements beat hard cuts every time.
- StreamFX — GPU-accelerated effects: blur, masks, chromatic aberration, and more. Free for source-only usage.
- NDI — Send/receive video and audio over your local network. Use a second laptop as a dedicated streaming encoder without extra hardware.
- obs-websocket — Control OBS remotely via HTTP. Build a custom stream deck with a tablet or phone. Automate scene switches, start/stop streaming, and change sources — all programmable.
- Audio Monitor — Route any OBS audio source to a specific output. Hear your stream mix on headphones separate from your DJ monitor mix.
Why OBS Is the Right Foundation
OBS Studio isn't just software — it's the backbone of modern live broadcasting. Whether you're streaming to a handful of friends on Grooveline or broadcasting to thousands on Twitch, the principles are the same: clean scene composition, proper audio routing, and settings that match your hardware and bandwidth.
The DJs who build their stream on this foundation can scale without rebuilding. Start with one camera and a basic layout, then add cameras, overlays, and automation as you grow. OBS grows with you — and it never asks for a subscription fee.
In 2026, video-first broadcasting isn't optional for DJs. But the tools to do it professionally have never been more accessible. OBS Studio is the proof.
Sources & Further Reading
- OBS Studio Official Wiki — comprehensive documentation for all OBS features, scene setup, and encoding
- OBS Studio Encoding Guide — official bitrate, preset, and encoder recommendations for different hardware configurations
- FFmpeg Documentation — the underlying engine behind OBS encoding and streaming. Essential for understanding codecs and streaming protocols
- Blackmagic ATEM Mini — hardware video switcher that pairs perfectly with OBS for multi-camera DJ streams
- OBS Plugin Repository — official plugin directory covering Move Transition, StreamFX, obs-websocket, and more
Ready to build your broadcast? Grooveline is a free platform for DJs to stream — create your profile, book a slot, and go live with your OBS setup.