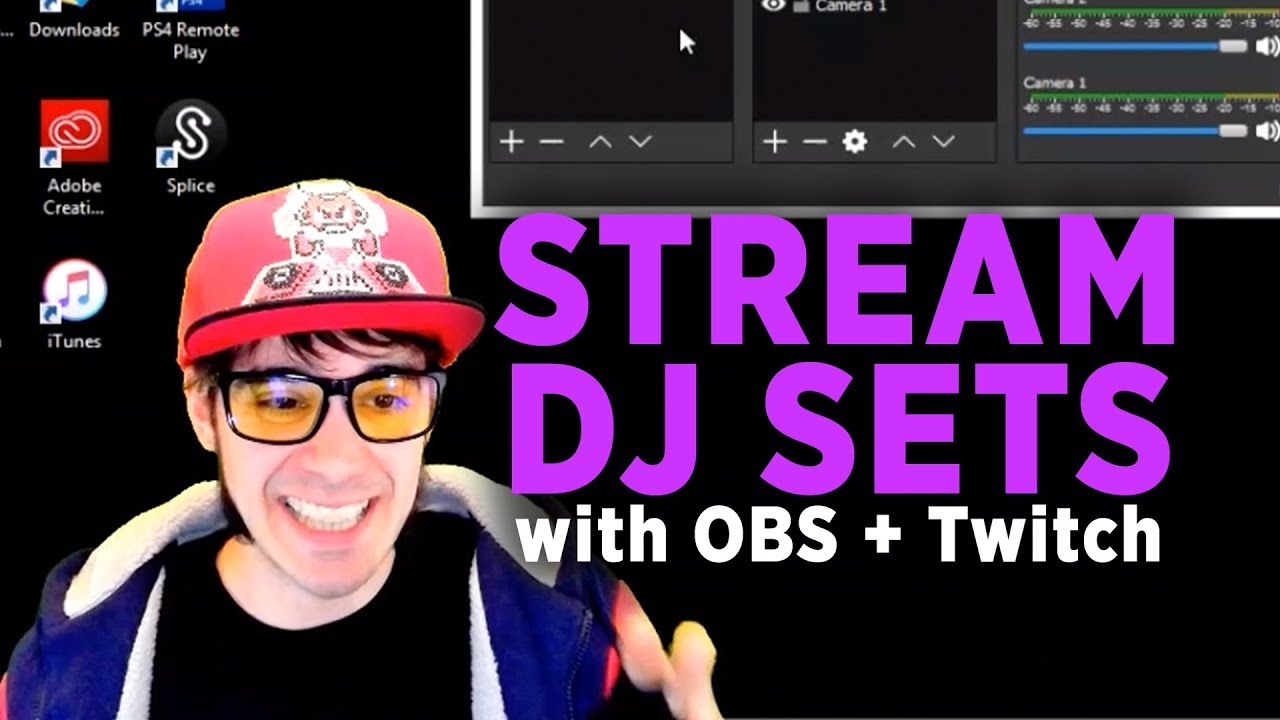
Most people discover live video on a phone. That changes the job for a DJ: a great horizontal broadcast can still look tiny, cropped, or strangely empty when it is squeezed into a vertical feed. Grooveline is built for DJs, but the production principles are the same everywhere — make the performance easy to see, easy to hear, and worth staying for.
This guide shows how to build a practical 9:16 vertical DJ stream in OBS Studio for TikTok Live, Instagram-style clips, and vertical YouTube broadcasts. You do not need a second studio. You need a deliberate canvas, a camera position that fills it, and an audio chain that does not get wrecked by a phone speaker.
Why vertical video works for DJ sets
Vertical video is not simply horizontal video rotated ninety degrees. A phone viewer sees a narrow, tall window while holding the device close. The strongest composition puts the performer and the action in one readable column: face near the upper third, hands and mixer in the centre, and enough background to establish the room.
That makes vertical particularly useful for DJ content. Your hands moving between jog wheels, pads, and faders are a natural focal point. A tight crop also removes dead space around a desk. You can show more personality without buying a wider lens or filling the room with expensive set dressing.
Think of the vertical feed as a different show, not a second export. A horizontal master can remain your archive or YouTube version; the vertical scene should be designed for quick recognition and mobile viewing.
Set the OBS canvas before adding cameras
In OBS, open Settings → Video. Set both the base (canvas) resolution and output resolution to 1080×1920. Choose 30 fps to start. A DJ set rarely needs 60 fps, and 30 fps leaves more headroom for encoding, browser overlays, and the DJ software running beside OBS.
Do not stretch a 1920×1080 camera source into the canvas. Right-click the source, choose Transform → Fit to Screen, then crop the sides with Alt-drag until the useful part of the shot fills the frame. Stretching makes faces and decks look wide; cropping preserves geometry.
The official OBS aspect ratio guide explains why mismatched sources create bars and awkward crops. Treat the canvas as your director's view: every element should earn its space.
A vertical scene layout that reads instantly
Build one reliable “Live Vertical” scene before experimenting. Use this layer order from bottom to top:
- Camera: a medium shot showing your face, mixer, and both hands. Place the camera slightly above mixer height and angle it down just enough to keep the controls visible.
- Visual background: a subtle gradient, room light, or slow-moving texture can fill gaps without competing with the performance.
- Track information: a small now-playing panel near the lower third. Keep it away from platform buttons and captions.
- DJ identity: your name or handle near the top, large enough to read but not so large that it becomes a billboard.
- Live indicator: a tiny, consistent status mark is enough. Avoid flashing graphics during the drop.
Leave a safe margin around all four edges. TikTok, Instagram, and YouTube can place comments, buttons, captions, and navigation over your video. The bottom 15–20 percent is especially risky. Put important text in the middle third, then test it on an actual phone.
Camera choices and the money shot
One camera is enough for a convincing vertical stream. Use a phone with a stable mount, a webcam, or a mirrorless camera feeding a capture device. The priority is not cinematic shallow depth of field; it is a sharp view of the actions viewers came to see.
Frame from roughly waist or chest height to just above your head, with the mixer and the active deck occupying the lower half. If the deck is cropped out, the viewer loses the story. If your face is tiny, the broadcast feels anonymous. A second camera can show an overhead hands shot, but switch deliberately — constant cuts make a short vertical frame feel frantic.
Lock exposure and white balance if your camera allows it. Auto exposure can pulse every time a bright screen or LED changes. Add a small key light at 45 degrees to your face, then use coloured practical lights behind you for atmosphere. Light the performer first; RGB gear is decoration, not illumination.
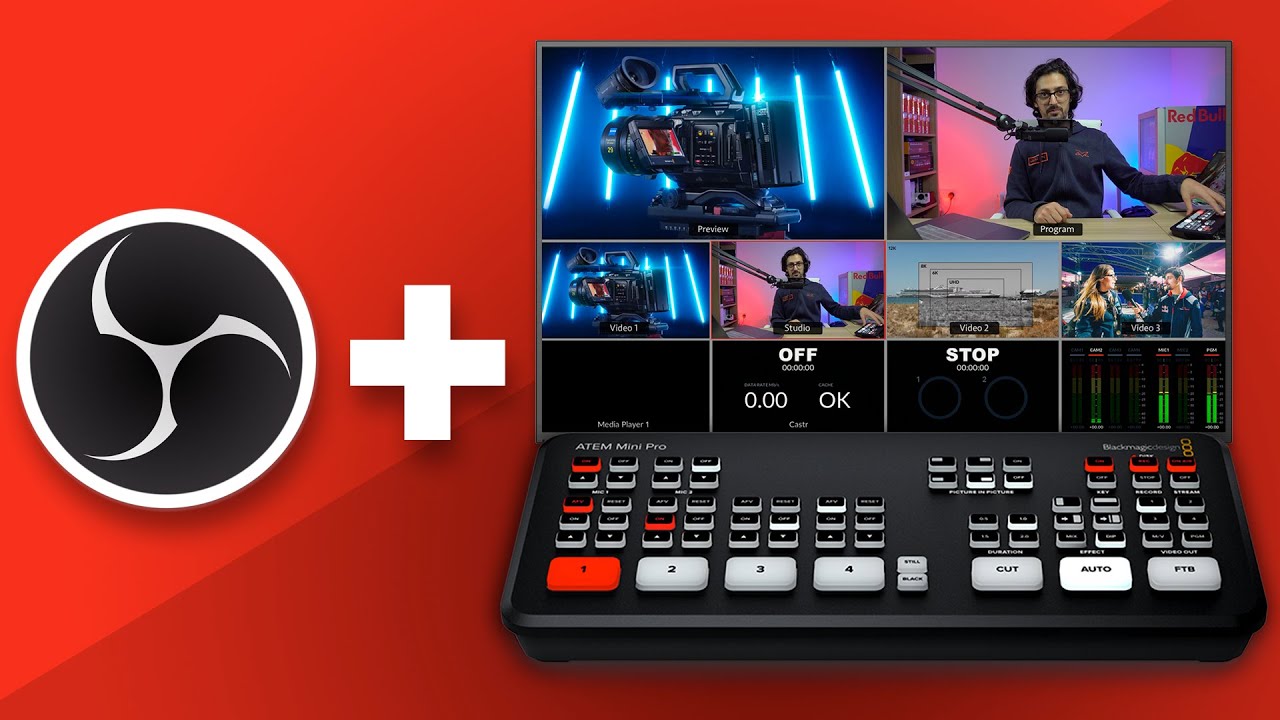
For a two- or three-camera workflow, the ATEM Mini and OBS setup guide covers the signal flow. If you prefer to compose every camera inside OBS, our OBS Studio guide for DJs explains scenes, sources, and audio routing in more depth.
Audio that survives mobile speakers
Vertical video does not make audio less important. Phones expose harsh highs, muddy low end, and clipping immediately. Take the master output from your DJ mixer or audio interface — never the headphone cue — and bring it into OBS as a stereo input.
- Leave headroom: aim for peaks around -6 dB and never let the OBS meter sit in the red.
- Use a limiter on the final music bus with a ceiling around -1 dB to catch unexpected transients.
- Keep a microphone on a separate channel if you speak. Add a noise gate and gentle compressor rather than shouting over the music.
- Monitor the actual stream output with headphones. The room may sound balanced while the feed is painfully bright or clipped.
Do a 60-second test recording and listen on earbuds and a phone speaker. This catches more problems than staring at meters. If the kick disappears on a phone, do not simply turn up the bass; check your gain staging and leave the platform encoder enough room to work.
Encoder settings and platform reality
Start with H.264, 1080×1920, 30 fps, and a video bitrate around 4,500–6,000 Kbps if your destination accepts it. Use a hardware encoder such as NVENC, Apple VideoToolbox, or AMD AMF when available. Set keyframes to 2 seconds where the platform specifies that interval. If your upload connection is unstable, drop to 720×1280 at 30 fps before the stream starts breaking up.
Each platform has its own limits, account requirements, and copyright policies. YouTube supports horizontal and vertical live formats, while short-form apps tend to be designed around the 9:16 frame. Check the destination's current live dashboard rather than relying on an old preset. The YouTube live streaming documentation is a useful reference for current setup requirements.
Build one dependable vertical scene first. A stable 720p broadcast with clean audio beats a stuttering 1080p production with six animated widgets.
Run a five-minute preflight
- Open the vertical canvas and confirm your face, mixer, and hands are visible.
- Read every overlay on a phone, not only on your large monitor.
- Make a short private recording and check sync between hand movement and audio.
- Watch the OBS Stats dock for dropped frames, rendering lag, and encoder overload.
- Start the stream with a clean countdown scene, then cut to the live camera only when audio and framing are ready.
After the set, save the recording and mark three moments that deserve separate clips: a transition, a visible performance detail, and a reaction or shout-out. The vertical broadcast is not only a live show; it is a source of short, discoverable pieces that point people toward your next set.
FAQ
Can I use the same OBS profile for horizontal and vertical streams?
Yes, but separate scene collections and profiles are safer. Keep one 16:9 collection and one 9:16 collection so you do not accidentally send a cropped layout to the wrong destination.
Do I need an ATEM Mini for vertical DJ streaming?
No. One camera and OBS are enough. An ATEM becomes useful when you want reliable physical switching between a wide shot, overhead deck shot, and close-up without loading every camera into the computer.
What if my camera is horizontal?
Crop it rather than stretch it. Move the camera closer, use a tighter lens, or rotate a phone vertically. The goal is a deliberate portrait composition, not a landscape image trapped inside a tall box.
Sources & Further Reading
- OBS Studio Aspect Ratio Guide — official guidance on canvas size, scaling, and fitting sources
- OBS Studio Quick Start Guide — official setup for scenes, sources, audio, recording, and streaming
- YouTube Help — Get started with live streaming — current live format and encoder requirements
- Blackmagic Design ATEM Mini Getting Started — hardware switching, USB webcam output, and live production workflow
- Instagram Help — Reel size and aspect ratios — current vertical video dimensions and quality guidance
Ready to put this into practice? Grooveline gives DJs a free place to create a profile, book a slot, and share a live show with the community.